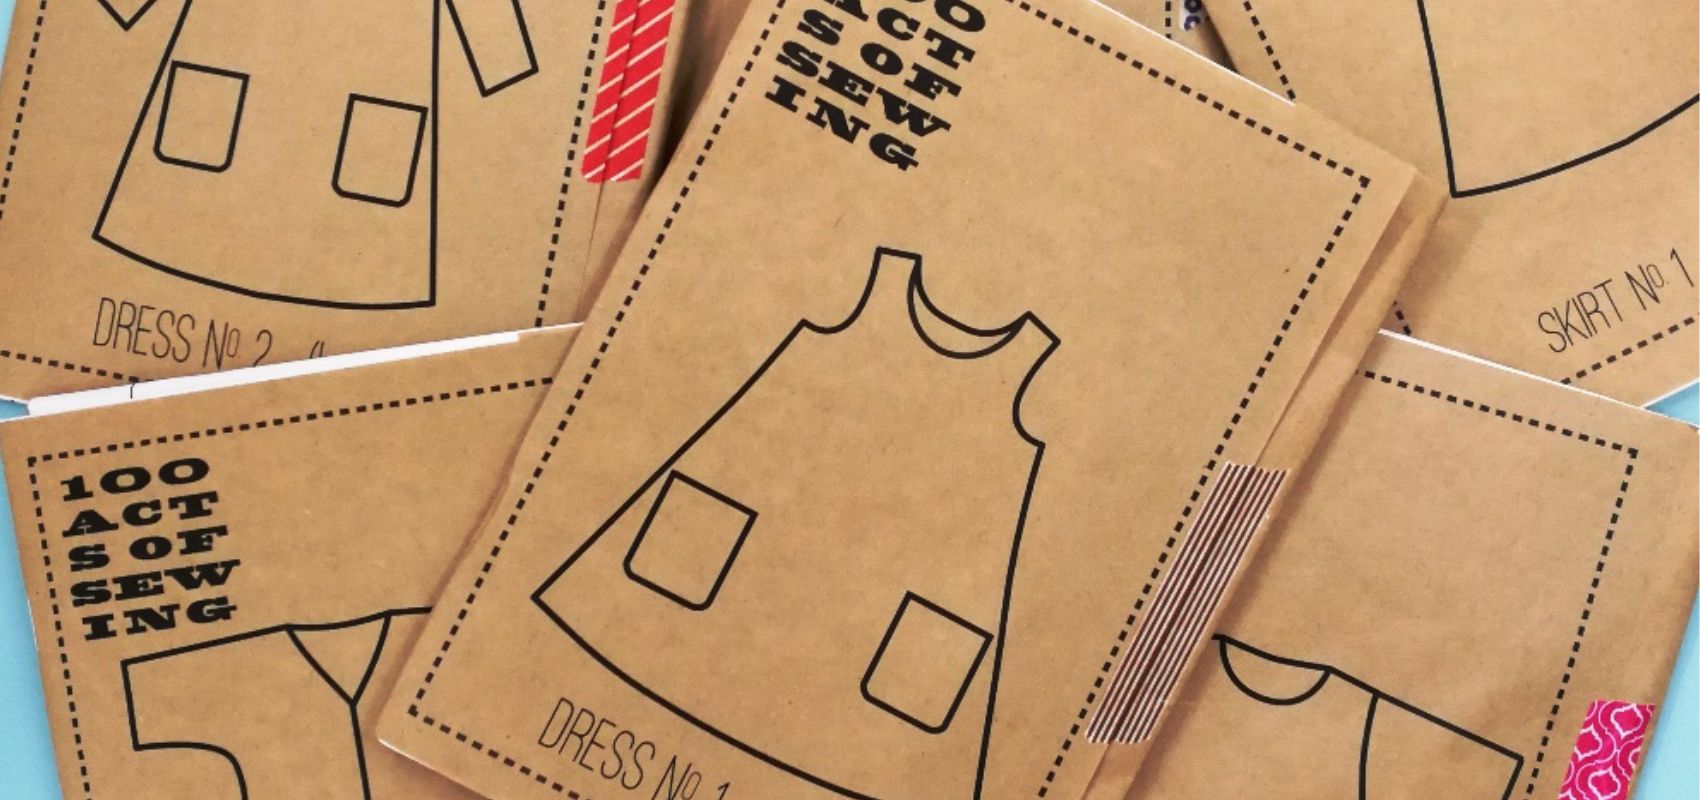


100 Acts of Sewing July – Adding cuffs to Shirt No 1


Why would you want to add a cuff you may ask? Well here are a few reasons:
- To add a contrast design feature
- To add length if fabric isn’t wide enough to fit the pattern.
- To add a bit of substance to fine fabrics – the cuff can make your sleeves hang better
- To add some adaptability to your Shirt No 1 – wear the cuffs down or up!
As usual, there are several ways to do this. I like this version because all your seams are enclosed and neat and it’s quick to do. The only thing you need to bear in mind is that the starting sleeve shape need to be straight in shape (i.e. not tapering towards the wrist). So the wide sleeve style of Shirt No1 is perfect for this.
I have used some beautiful fabric from Faberwood , our Week 3 sponsor, for this Shirt No 1.
So here we go:
Wash and dry your fabric as normal. Cut out your shirt front and back then join and finish shoulder seams and finish neckline as usual. I used French seams on this shirt as the fabric is fine and frayed a bit. I also used my bias facing technique for the neckline (blog post coming back soon!). Don’t sew the sides yet.
Decide how deep you want the cuff to be. You are basically adding length to the sleeve so think where you want them to hit on your arm. Also you can turn them up if you like. I wanted mine to be 4 inches deep.
Lay out your shirt flat and measure the total length of your sleeve edge. Mine was about 16 1/2 inches.

So the length of my cuff piece will be 16 1/2 inches. The depth will be 4 inches (my desired cuff depth) plus 1/2 inch seam allowance. Multiply this measurement by 2, which equals 9 inches.
Cut out two rectangles 16 1/2 x 9″ – these are your cuff pieces.
On both pieces, mark the halfway point on one long edge with a tiny snip or chalk mark. On the other unmarked long side of each cuff each piece, press up a 1/2 hem. Pressing it now will make it easier to sew it in position later.


Take one cuff piece piece, unfold the pressed edge and place the short edges right sides together. Sew this seam with 1/2 inch seam allowance. Press the seams open and re-press your hem into position. You should have a cylinder with one pressed up edge.

Now take your shirt and pin and sew the side/underarm seam together with a 1/2 inch seam as per the instructions. I used a French seam for this too but you can just sew a normal seam and finish your edges as per the instructions. Give it all a good press.

Turn your cuff right side out. Now lay out your shirt, right side out. Lay your cuff flat next to it with the pressed over edge nearest to your shirt. Make sure the seam of your cuff is at the bottom fold. Your little snip/mark should be at the top fold. See the picture below.

Now insert your cuff into your sleeve, until the raw edge of your sleeve and the unpressed raw edge of the cuff line up. Make sure that the seam of your cuff lines up with the underarm seam of your shirt and your little snip/mark lines up with the shoulder seam of your shirt. Pin your cuff and shirt together around these raw edges.

Sew the sleeve and cuff circumferences together with a half inch seam. You may find it easier to use your free arm if your machine has one.
Give your seam a press, pull out your cuff and press the seam allowances away from the shirt toward the cuff. You will have the right side of the shirt and the wrong side of the cuff showing as below.

Now fold back your cuff so the folded edge just covers the line of stitching you have just made. Pin in place and top stitch in place all around the cuff. Give it a good press and that’s it!

This is great for playing with contrast fabrics and directional prints and stripes. A short cuff can give a casual look, while an extra long one looks a bit more dressy and can give you a 3/4 length sleeve effect.
Hope you have fun with this! Please ask if you have any questions!
Grace x
Leave a comment