


100 Acts of Sewing July – Another method for adding a bias facing

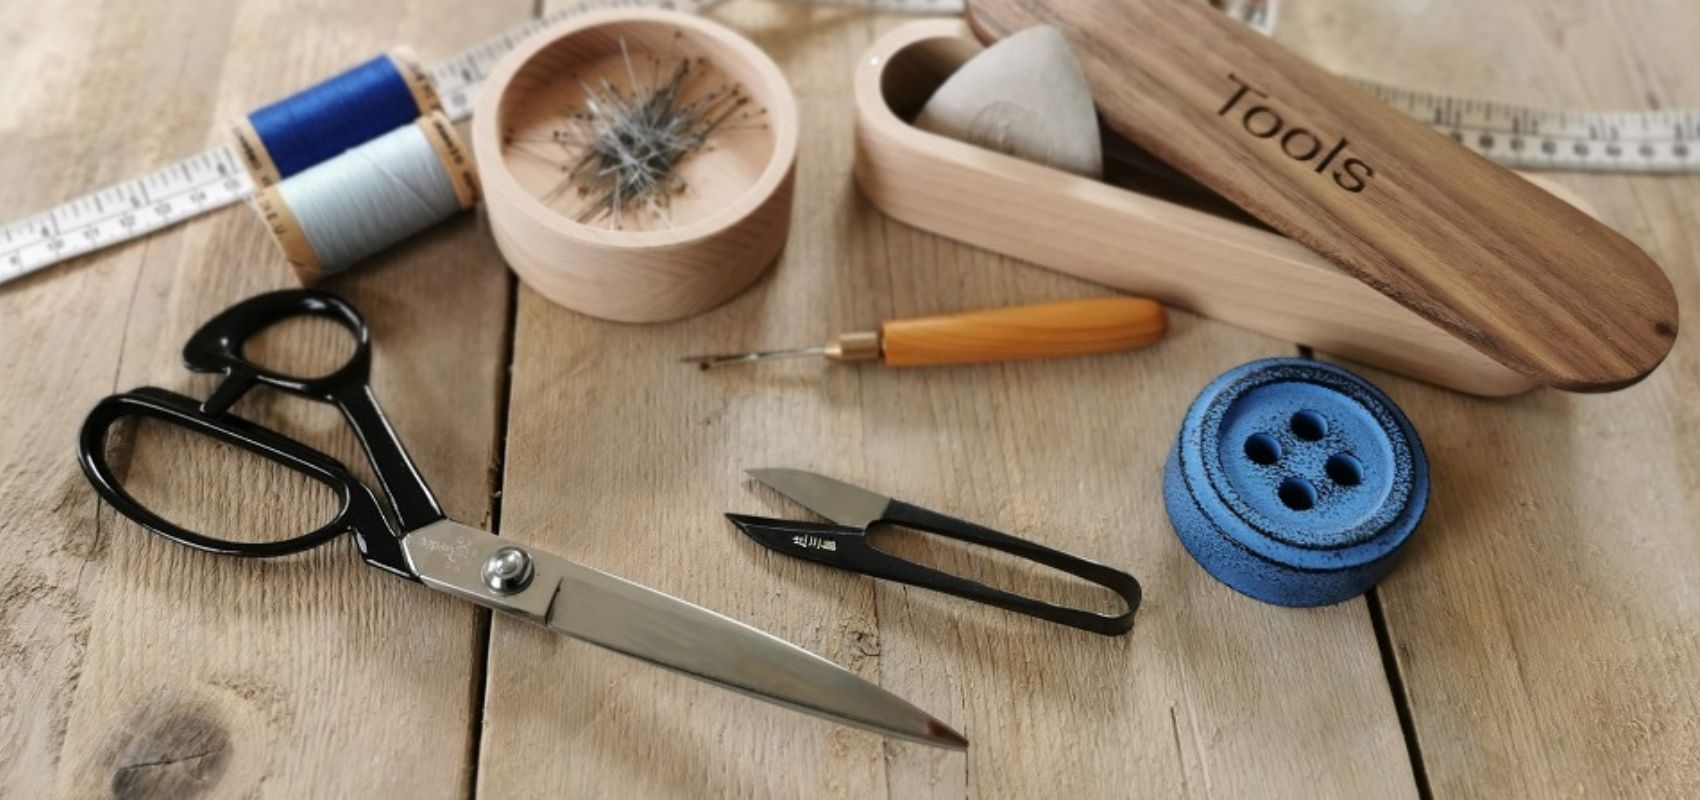
Finishing a neckline or armhole with bias facing can be a bit tricky, but there are a few ways to do it. This method is pretty foolproof and is great for adding a decorative bias band to the right side of your garment at the neckline or armhole. You can also turn it to the inside for a neat less visible finish. You don’t need a bias tape maker to do it and there are no fiddly edges to catch.
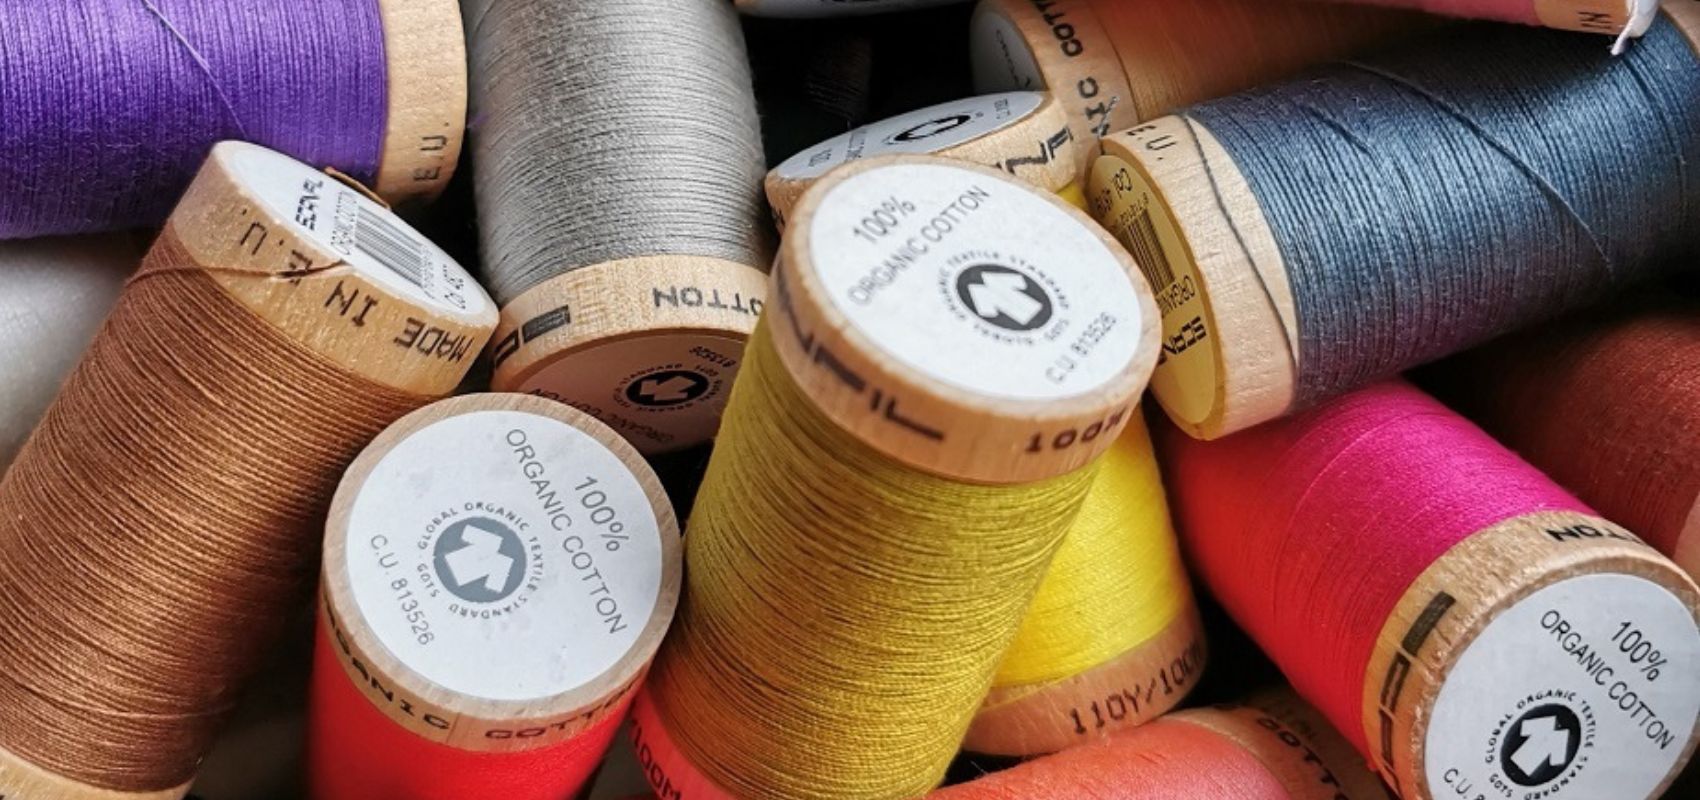
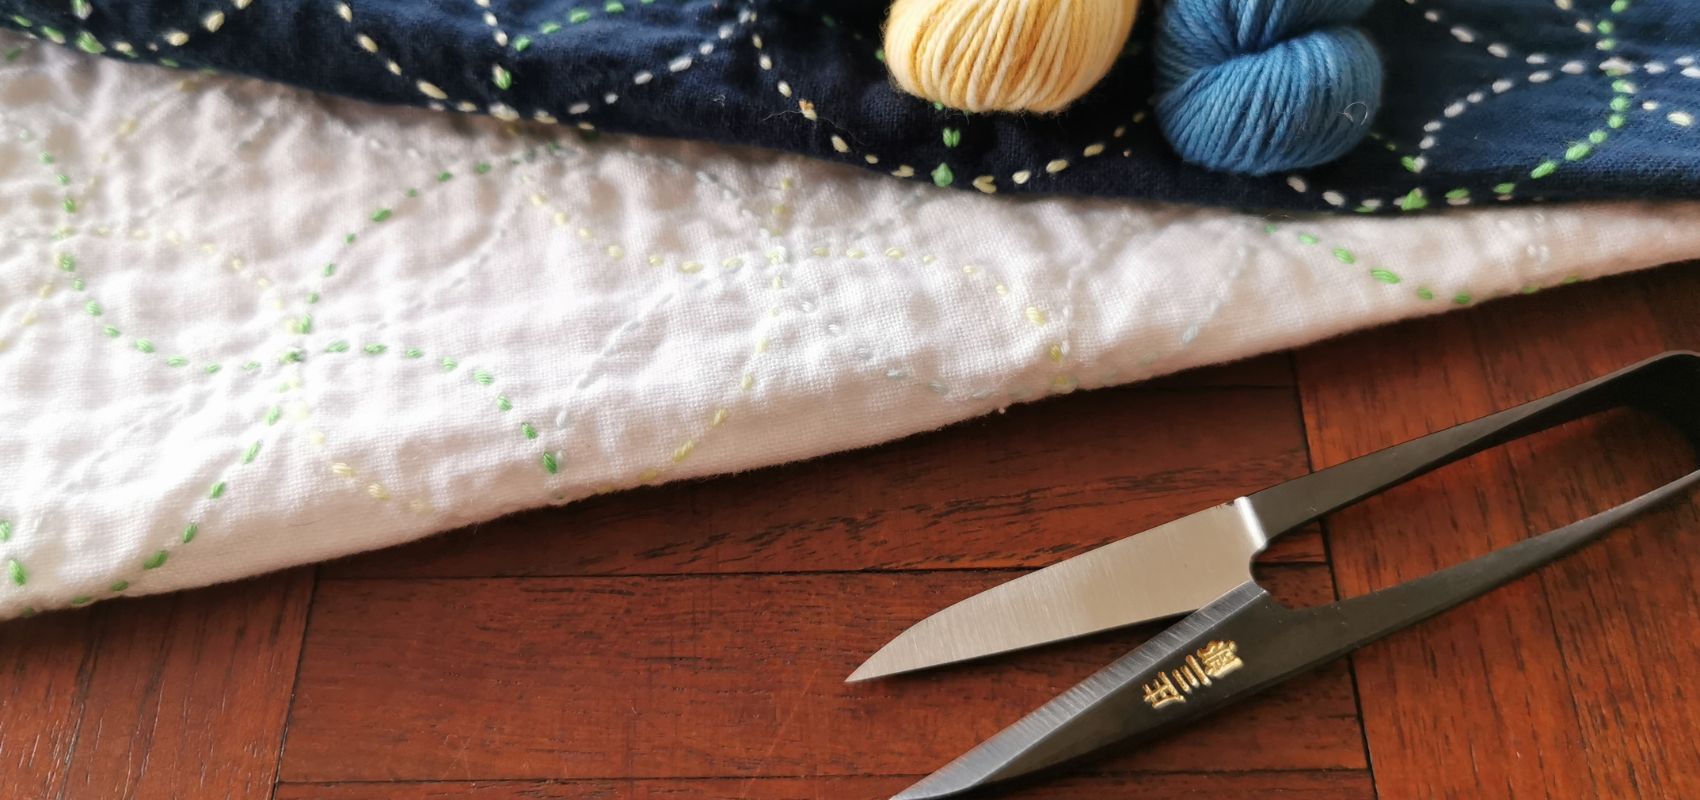
It works best when using a fine fabric for the bias band – cotton lawn or these beautiful block print cottons from this week’s sponsor of 100 Acts of sewing July, In the Wool Shed. It would also work well in silk or viscose.
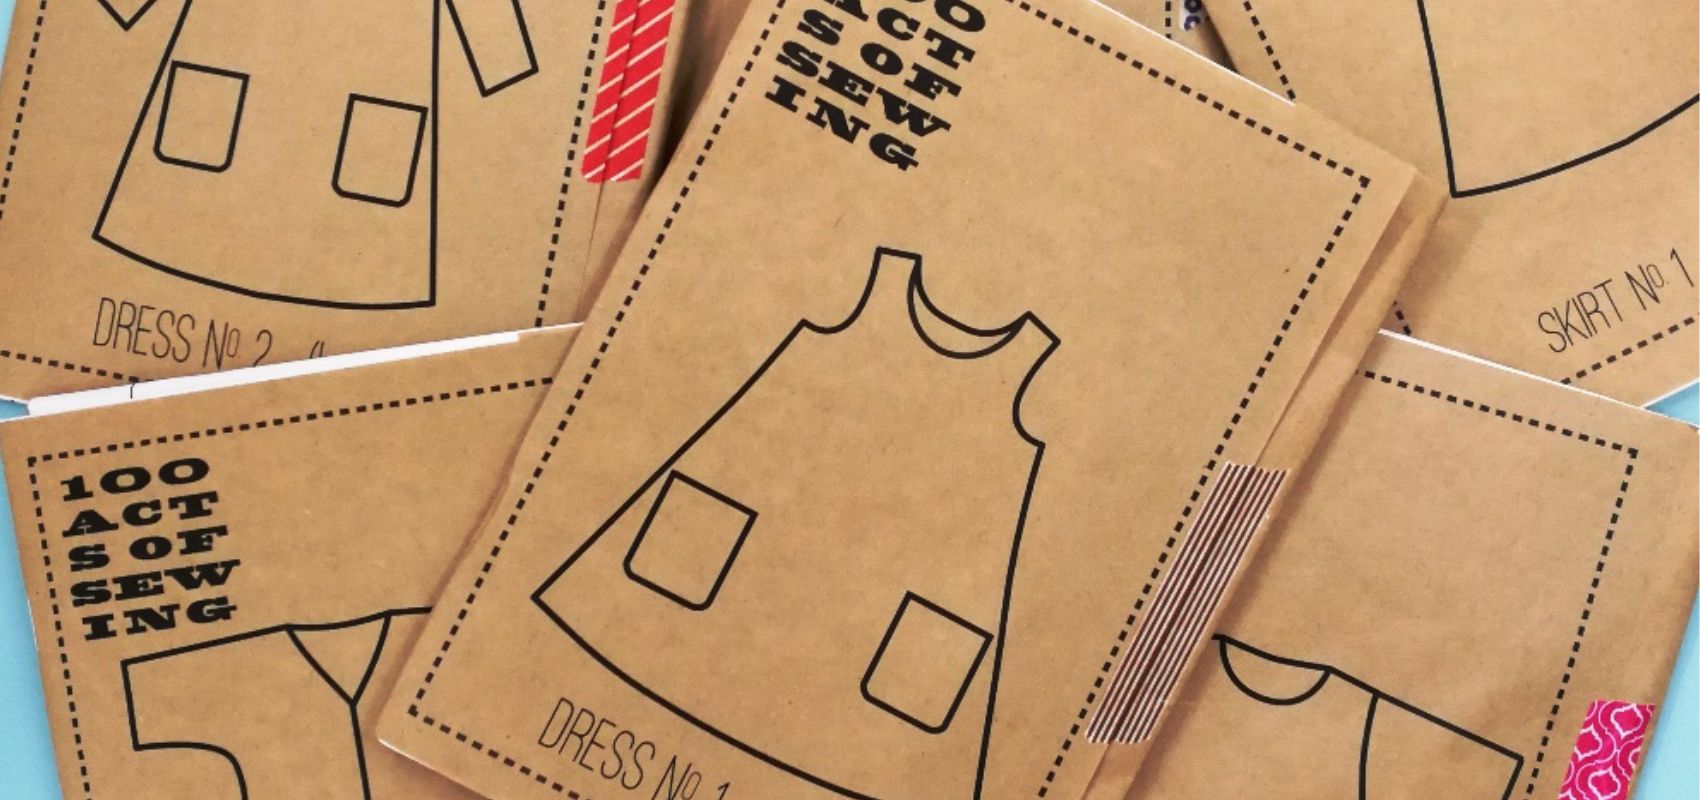
Here I am applying the bias facing to the neckline of Dress No 2 from 100 Acts of Sewing.
I have used a neckline seam allowance of 1/2 inch. You could go a bit narrower if you like but I like to give myself a bit to play with, especially as my main dress fabric is linen and prone to fraying.
Make sure your cutting and sewing is as accurate as possible to keep things looking neat and even.
1. Wash, dry and press your fabric to avoid any shrinkage later on. Cut out your pieces for Dress No 2.
2. On your dress front and back, staystitch your neckline about 1/4 inch from the edge. Join your dress front and back at the shoulders and finish the seams as per the instructions for Dress No 2.

3. Using a tape measure on its edge, measure the total distance around your neckline at the seam allowance. Add on about 4 inches – be generous as it will give your more to play with.

4. Decide how wide you want your visible band to be. Add your neckline seam allowance and double the total.
So for mine I wanted the visible part to be 3/4 inch wide. My seam allowance at the neckline was half an inch.
So 3/4 inch plus 1/2 inch = 1 and 1/4 inch
Double this to get 2 and 1/2 inches in total.
5. Cut your bias strip 2 and 1/2 wide and the length of your neckline plus the extra 4 inches. You may need to join strips to get the length you need – see your 100 Acts of Sewing instructions for details of how to cut and join a bias strip.

6. Now this is where is gets a bit different. Fold your bias strip in half lengthways, wrong sides together, right sides facing out, matching the long raw edges exactly and press well with a steam iron. As you do this, let your band stretch ever so slightly and evenly. This will help it to stay flat on your garment later. You will end up with a flat band with one folded edge and another edge with two raw edges together. Press your band in half lengthways

7. Now take your folded band and find the centre. Match it with the centre front of your dress on the wrong side. You want to line up the raw edges of your neckline with the raw edges of you band. Pin in position and then start to work your way around the wrong side of your neckline, easing the band into the the curves, keep all your raw edges aligned all the way as you go. Pin right the way around until you come to the centre back. When you get to the back, fold your extra tails back on themselves where they meet and press with an iron to get a line where you will join them together.


8. Now tack your bias band in place ! You won’t regret this, it will help you ease your band to the neckline more accurately and make it easier to sew. Tack from the centre back creases right around the neckline to the other crease but leave your tails free for now.
9. Now, starting about 2 inches from the centre back, you need to machine stitch around your neckline using your 1/2 inch seam allowance. I use an awl to help control the band as I stitch – it really helps you to keep the band flat and under control. Stitch to within about 2 inches of the centre back on the other side, you will have a total of 4 inches unstitched binding at centre back, plus your extra tails which should still be hanging free.

10. Now remove your tacking and open out those free tails of the bias band that are left at the back. Pin the two single layers right sides together at centre back and stitch them together down that line that you pressed (a faint blue line in my picture) . Trim the seams to 1/4 inch and press, then fold the bias bandback in half again, match the raw edges and stitch the remaining 4 inches of the back neckline in place.


11. Press your stitching. Now carefully trim your down seam allowance to a scant 1/4 inch and clip into any curves. Then turn your bias facing over to the right side of your dress. Give it a really good press with some steam (if appropriate for your fabric) easing the bias band into place. Pin, then tack your band into position around the neckline – this will give you a really good finish without any creases. Then carefully top stitch it into place along the folded edge. An awl can help you control the band as you sew


You should have a nice flat facing! You can make the facing wider than mine. You can also apply the facing to the rights side of your garment then flip it to the inside for a plain neat finish.

I hope you like this method! Please ask if you have any questions.
Oh I’m not sure why – I shall have a look and check it out. Thanks for flagging that up!
Very few of the pictures show. What happened?
Excellent article, I’m just about to bind a neckline and arms on a linen dress I’m making.
Leave a comment