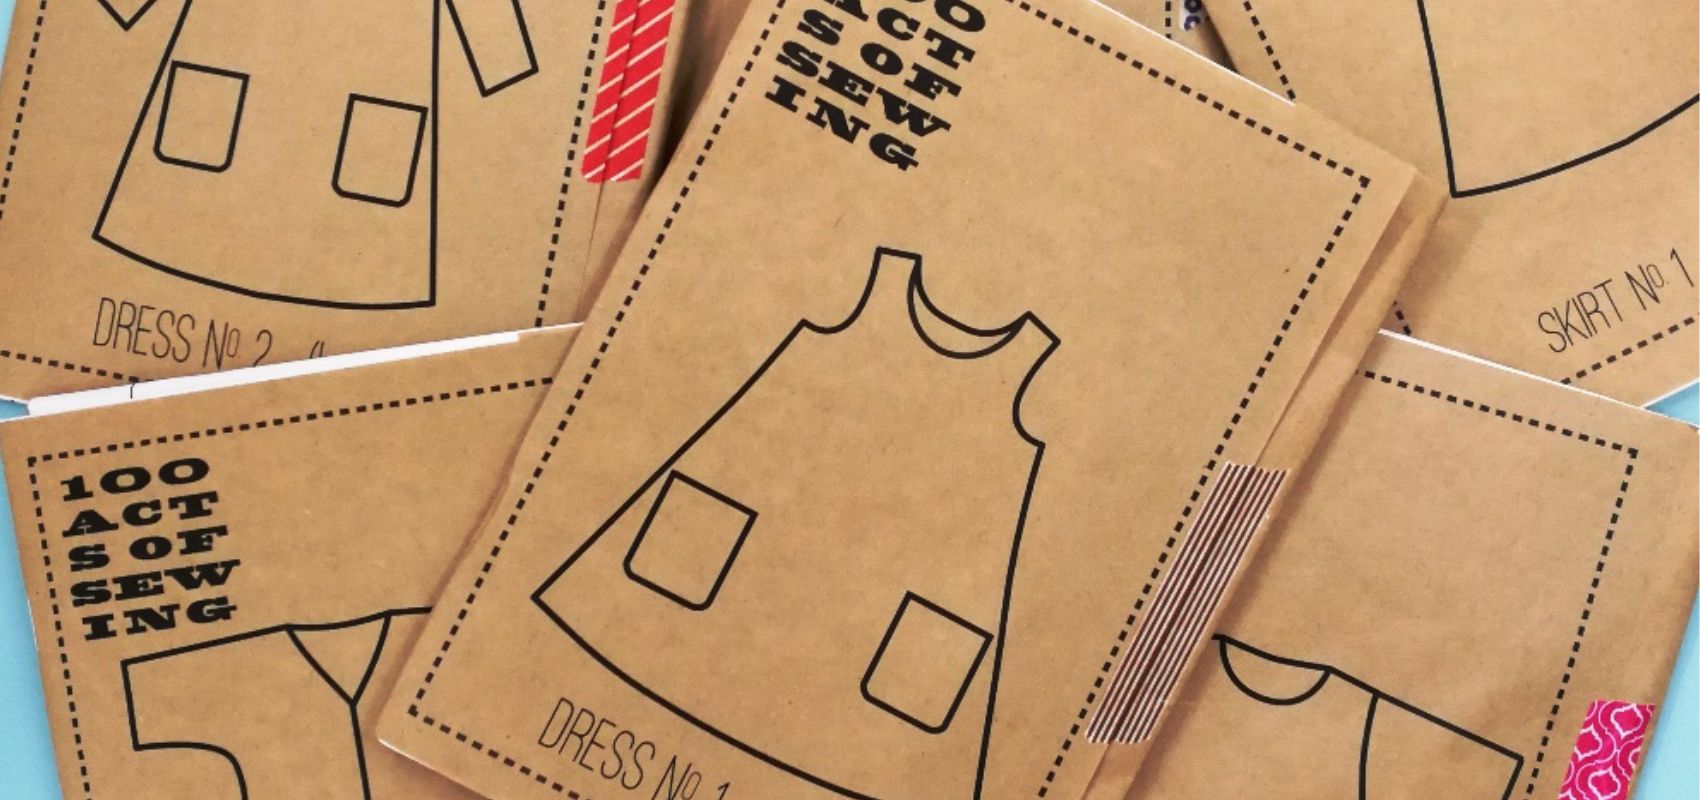

100 Acts of Sewing July - Tulip Cuff Pants No 1

So I'm pretty chuffed (as we say up north) with this little hack for two reasons:
1. It turned out pretty well first time
2. It took me back to my art college days when I'd see something I liked and then jump in fearlessly to try and recreate it.
I think that we are endlessly bombarded with patterns and possibilities these days. A quick web search and we can usually find the pattern we want, or pretty close to it. But back in my day, I could barely get hold of the big name dress patterns in a local shop, so usually I'd just figure out the rough measurements and shape of what I wanted to make then dive right in, no fear! And that's the way I decided to tackle this.
So I'd seen a few versions of cuff type pants that inspired me. I also had a pair of Pants No 1 all cut out and ready to sew, plus a bit of extra fabric. Perfect! Except the fabric was charcoal grey, so please forgive the photos - I hope you can see OK.
Also, this was the way I did it as I went along, in a kind of intuitive way. Once you've made it once you can draft a proper pattern piece that can be used again and again.
You'll need enough fabric to cut out 4 cuff shapes - about half a metre should do it if your fabric is wide.
All seam allowances are 1/2 inch
1.You first need to work out the proportions that you want for your pants. I've done a quick sketch for mine.
Work out the final length, including cuff that you want. It is easiest to measure this at inside leg (from the crotch point to where you want the cuff to end). I based my measurements on the length of a previously made pair of Pants No1, with an inside leg of about 22.5 inches.
So my pants leg would be 16 inches inside leg and then the added cuff would be about 6 1/2 inches deep when attached and finished (so without seam allowances).

2. So, to make your trousers, take your main leg length (in my case 16 inches). Add on half an inch seam allowance. Cut out your Pants No 1 (I cut mine at 16.5 inches inside leg) Make the pants as per the pattern instructions but leave the pant legs unhemmed.
3. Cuff - to make it easier to visualise the cuff proportions and curve, we'll draft the pattern without seam allowances and add them on at the end when we are happy with the shape.
To calculate the cuff piece pattern on pattern paper:
Length: measure the finished total bottom circumference of your pants leg (i.e all the way around). Mine was about 21 inches. Add on about 3 inches each side for the overlap (so the length of my cuff without seams was about 27 inches).
Depth - take your desired finished cuff depth. I wanted about 6 1/2 inches finished length.

Now you have a long thin rectangle but for this cuff we're going to go for a more curved in tulip shape. On each end, draft a curve for each end of the cuff. Have a play with this - it might take a few goes to get it right. Try a gentle or dramatic curve. Try it out by overlapping the ends so it the cuff tapers in at the bottom as you can see in the picture. We'll sort out those poking out top bits later, don't worry.

4. Once you are happy with the shape, you'll need to cut out four identical cuff pieces from your fabric. Add a half inch seam allowance all the way around. You can either just mark this on your fabric as I did, then cut, or redraw your pattern piece with seam allowances - either way make a note on your pattern piece in case you make it again.

5. Now place the four pieces into two pairs, right sides together. Take one pair, pin all around the edges and sew from the top of one curve down along the bottom and up the other curve. Leave the straight top edge open.

Notch into the seam allowances at the curve and gently turn to the right side.

Push out the curves and press everything nice and flat. Now top stitch the edge you have just sewn about a quarter inch in from the edge.

Now hand or machine tack the top raw edges closed. Repeat with the other pair to make another cuff.
6. Get your pants and lay them out on the table right side out. Get one leg lying nice and flat.
Take a cuff piece, place it beneath the leg and overlap the ends so the raw top edge is about the same width as the leg. Now pull up those corners of the cuff a little so they stick out at the top. You'll see your cuff pull in at the bottom to make a tulip shape. You need to keep your cuff width about the same as your trouser leg but don't worry about being so exact - you have a bit of overlap to play with.

Now your cuff will have two little ears at the top. Square these off using a ruler and chalk/pencil. Unfold the cuff and cut off one of these little wedges - use it as a template to cut off the same wedge at the other side - you'll end up with a slight downward curve on each end of the top edge. Do this for the other cuff too.


7. Now take a cuff and right sides, together, line up one end with the outside leg seam. (This is where I prefer to start but pin this first to get it where you want and play with where the overlap and cuff curves lie).

Matching the raw edges of the cuff and the leg opening, wrap the cuff right round the leg until it overlap, pinning through the two cuff layers and one pant layer as your go. Then sew the cuff to the leg all around the circumference with a half inch seam allowance - you may prefer to use the free arm on your machine if you have one.

8. Finish your raw layers by overlocking or zig-zagging the edges of the raw seam allowances together. Press your seam and then press all the seam allowances upwards away from the cuff. On the right side, topstitch above this seam through all the seam allowances for a neat finish.


Finished!
Bonjour , Comme je suis contente de trouver enfin ce modèle et tuto de brassard ,j ai hâte de tester,
Merci beaucoup ,
Genevieve
I’ve been trying to find a pattern for these and then I came across your wonderful instructions!! I’m like you – I work better without a pattern 🥰😂 I reckon I will give these a go 🥰🥰🥰 thank you so much for the inspiration 😉
Thank you for sharing. I also have been looking for help to learn how to make the cuff. I am a plus size and finding anything out of the ordinary is almost impossible! Your kindness is extraordinary! Again thank you!
Thank you so VERY MUCH!!! I have been looking at these tulip pants and wondering if I could make them but I was having trouble finding a pattern. I happened upon your tutorial and I’m so excited to try it. Thank you for the tutorial!!
FB must be showing us the same ads for these pants—yours look great! Looking forward to using this tutorial to make my own pair. Thank you!
Leave a comment