100 Acts of Sewing July – some thoughts on fitting your clothes and making toiles

 The joy of making your own clothes is about making things that you like that fit your body!
However, making clothes fit (or making something that disappointingly doesn’t fit) can be one of the biggest issues in dressmaking – as individuals each of our bodies has its own unique shape – few of us fit straight into the ‘standard’ sizes of ready to wear clothes.
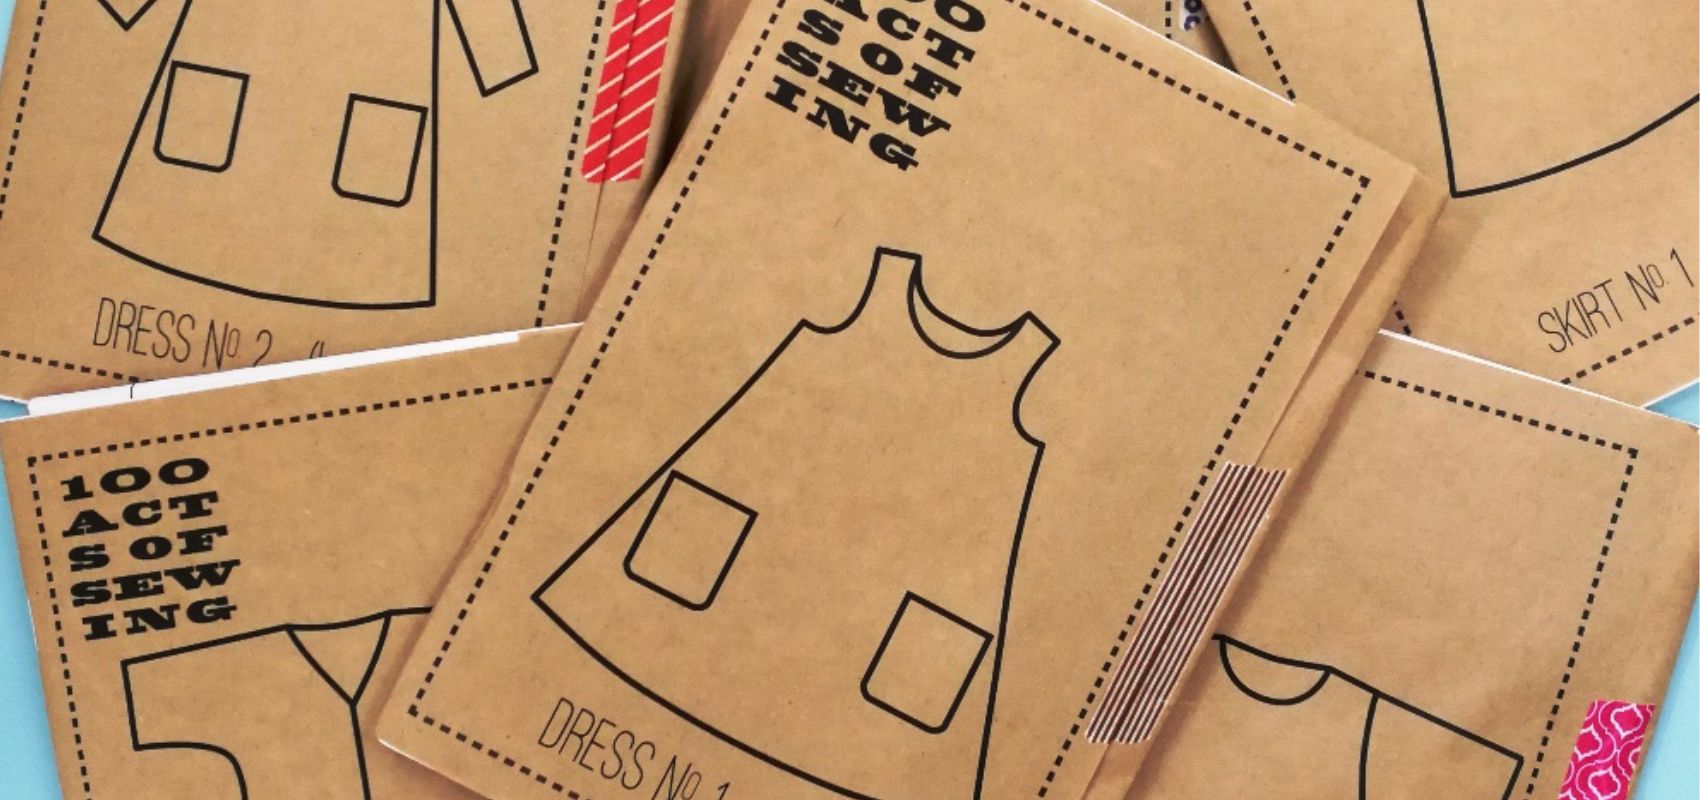
Pattern cutting is a complex business and I am the first to admit that it isn’t my area of expertise . Luckily, the 100 Acts of Sewing patterns aim to get you sewing and making garments without too much fuss or worry. The clothes are easy to wear and not fitted, but there are some steps that you can take to make sure you maximise your chances of getting your garments to fit the first time!
Here are some of my top tips:
1. Measure your body wearing your normal underwear and note down your measurements. It’s only a number so don't get hung up on this!
2. Compare these with the body measurements and sizes given on the 100 Acts of Sewing Patterns. Do take all your measurements into account when choosing a size, but for a top I would really focus on you bust measurements. If you are making a top or dress, the bottom half is pretty loose fitting and can be easily altered. For trousers, I would go by your largest measurement either at waist or hip – it is always better to have too much fabric to play with than too little!
3. Make a toile or a muslin. This is a trial run of your garment in a non-precious fabric. Now sometimes when I have used an old worn out bedsheet or plain thin calico, I get put off before I even start because I find it hard to visualise this boring fabric as a beautiful garment. My way around this is to use something that isn’t too precious that I will wear (if it’s a success!) or could re-use for something else if the fit isn’t right. I try and use a colour I actually like or would wear. Either way, making a toile for a 100 Acts of Sewing pattern will be quick and is definitely time well spent if you think you’ll be making your patterns time and time again.
4. Measure existing garments that you love to wear – then you’ll get an idea of the type of measurements that work for your body shape. For example :
Here are my body measurements: Bust 36″, Waist 31″, Hips 40″ Upper arm 12″
Now I know that any garment that measures around 40″ around the bust will give me a comfortable, easy fit. A waist should measure about 32″ – 33″ if it’s fitted and a 44″ hip will be loose in a tunicy kind of way on me. My biceps are pretty big so I need a sleeve to be at least 15″ around or it will feel too tight. I have based these averages on garments I have worn and sewn over the last few years. Although patterns and fit vary depending on the garment style and fabric used, these are the kind of miniums I would look for when measuring a pattern and deciding what size to cut in woven, non stretch fabric . The more you make and sew, the more familiar you will become with your body’s measurements and needs.
5. Don’t be afraid to grade between sizes – it is very easy! Here are some examples of very basic grading that I have done on the patterns I have made so far:
Shirt No 1
I cut a small in Shirt No.1 based on the chest measurement as I didn’t want it to be too loose. When I tried on my toile the body was great but it was a bit snug in the arm. So for my next one, I drew a curve between the body of the size S to the arm width of the L to make a new pattern that would give me some extra room.
EDIT - this pattern has since been updated and now a straight size M is my preferred fit!


Dress No 2
I cut a Small based on the pattern measurements at the bust. The body was fine but it was too small in the shoulders and arms. So I traced off a Size M around the neckline, shoulders and armscye and then merged this into the body of the Size S under the arms. I also cut a size M in the sleeve which I knew would fit the armscye and therefore give me the extra ease I needed.


Other things to consider:
Length
On most of the patterns I have added some extra length – I am only 5 foot 2″ so you may want to think about the length of your final garments – have a look at the tutorial on Sonya’s blog here for adjusting length.
Bums
Sonya has also added a useful backside adjustment for those of us with curvy bums.
Full Bust
I am afraid that this is not an adjustment I have ever needed but I know it is quite common! Please share if you have any experience of the bust fit of the patterns or any good tutorials etc that you have found useful.
And finally…
These are just some things that have worked for me. Don’t be scared to use your intuition about your body shape! The great things about Sonya’s patterns is that they seem to work across the size ranges with little adjustment.
The best thing you can do it get started, jump in and have a go!
Let us know below if you have any good tips or links to share on making clothes fit…..

Leave a comment