Now cut out your pattern and then cut out your front piece in fabric on the fold as instructed in the original pattern instructions. I kept the back the same as the original pattern, with the back neckline curve, but you could also repeat the square neck on the back if you like. Just make sure your shoulders end up the same width!
Cut out your back dress piece on the fold as normal. You can staystitch about 1/4 inch from the raw edge of the neckline for stability.
2. Draft the facing
Now we need to draft the facing pattern. Trace off the top part of the pattern only (to about 3 inches below the bottom of the armhole). Mark about 3 inches down from the centre front and draw a sweeping line (similar to the one below) that finishes 3in below the bottom of the armhole. Do the same with your back pattern piece and then your can cut out your two facing patterns. In your facing fabric, cut one on the fold for the front and one on the fold for the back. Mark that little intersection point of your stitch lines on the wrong side of your facings with chalk or a pencil. You now have your facings!
Now is a good time to add your pockets to your front dress piece if you want them, or you can do it when you get to step 5.
Sew the dress back piece to the front dress piece at the shoulders, right side together as per the original instructions. Your seams will be enclosed so you don’t need to finish the raw edges but you do need to press the seams open.
Then sew the front facing to the back facing at the shoulders too, right side together. Press the seams open.
Starting at centre back and the facing on top, start stitching all the way around the neckline, with your half inch seam allowance. This is illustrated roughly by the red line in my photo.
When you come to the corner, sew to the little dot you have marked on your facing, ending with your needle down on the fabric, and then release your pressure foot and pivot the work. Carry on across the front to the next dot, pivot then continue sewing until your reach centre back again. Once you have done this, go back and sew those corners again, for about and inch on either side of the dot and just inside your original stitch line, to reinforce the corner.
Now you need to clip and trim your seams. At the front corners, clip a little notch out , going as close as you can to your stitching but don’t cut through it. Trim and grade your seams down to about quarter of an inch to remove bulk. Clip or notch any curves as I have done on the back.
Now, this is the point that I would normally recommend understitching your neckline as far as you can, to stop the facing peeking out. But as we are going to top stitch this neckline, we don’t need to do that on this dress.
Turn your facing inside to the wrong side of your dress. Check everything lies flat and give it a good press, pushing out your seam and easing your facing to the inside so it doesn’t show. You may need to go back and trim and notch things a bit more if you have any lumps, bumps or wonky lines. You should have your desired neckline with a nice neat finish.
The burrito bit!
Now for the fun part! I have done this as a video as it is not so easy to explain in photos.
Have you watched the video and done the burrito thing? Now go and sew that curved armhole seam using your 1/2 inch seam allowance. Make sure you are only sewing the armhole edges right sides together and don’t catch the dress inside! Then trim and notch the seam.
Now it is time to turn the dress!
If you have pockets on the front, it is easier to pull the back section through as there is less bulk…
Repeat so you have both armholes finished.
5. Finishing off
Once you have completed both armholes and turned the dress though, give it all a good press. You can add pockets now if you didn’t add then earlier. Open out your facing sides. Right sides together, line up the edges of your facing, the seam where it meets your dress and the sides of your dress. Then pin together and sew the sides together from the top of the facing to the bottom of your hem in one single seam.
Then finish the raw edges of your facing and your sides. I overlocked mine as you can see.
Turn the facing back to the inside and then topstitch your neckline and sleeves. I did mine with a thick top stitch weight thread on top and a normal weight thread in my bobbin.
This is how it should look inside and out:
That’s it! All you need to do now is hem your dress!
Good luck and do ask questions if you need to
sign up to our newsletter
be the first to know about about new products, events and special offers.
by signing up, you agree to our privacy policy
I bought this for my 8 year old granddaughter who enjoys sewing. I think it is never too early to learn how to mend. I hope she really enjoys it.
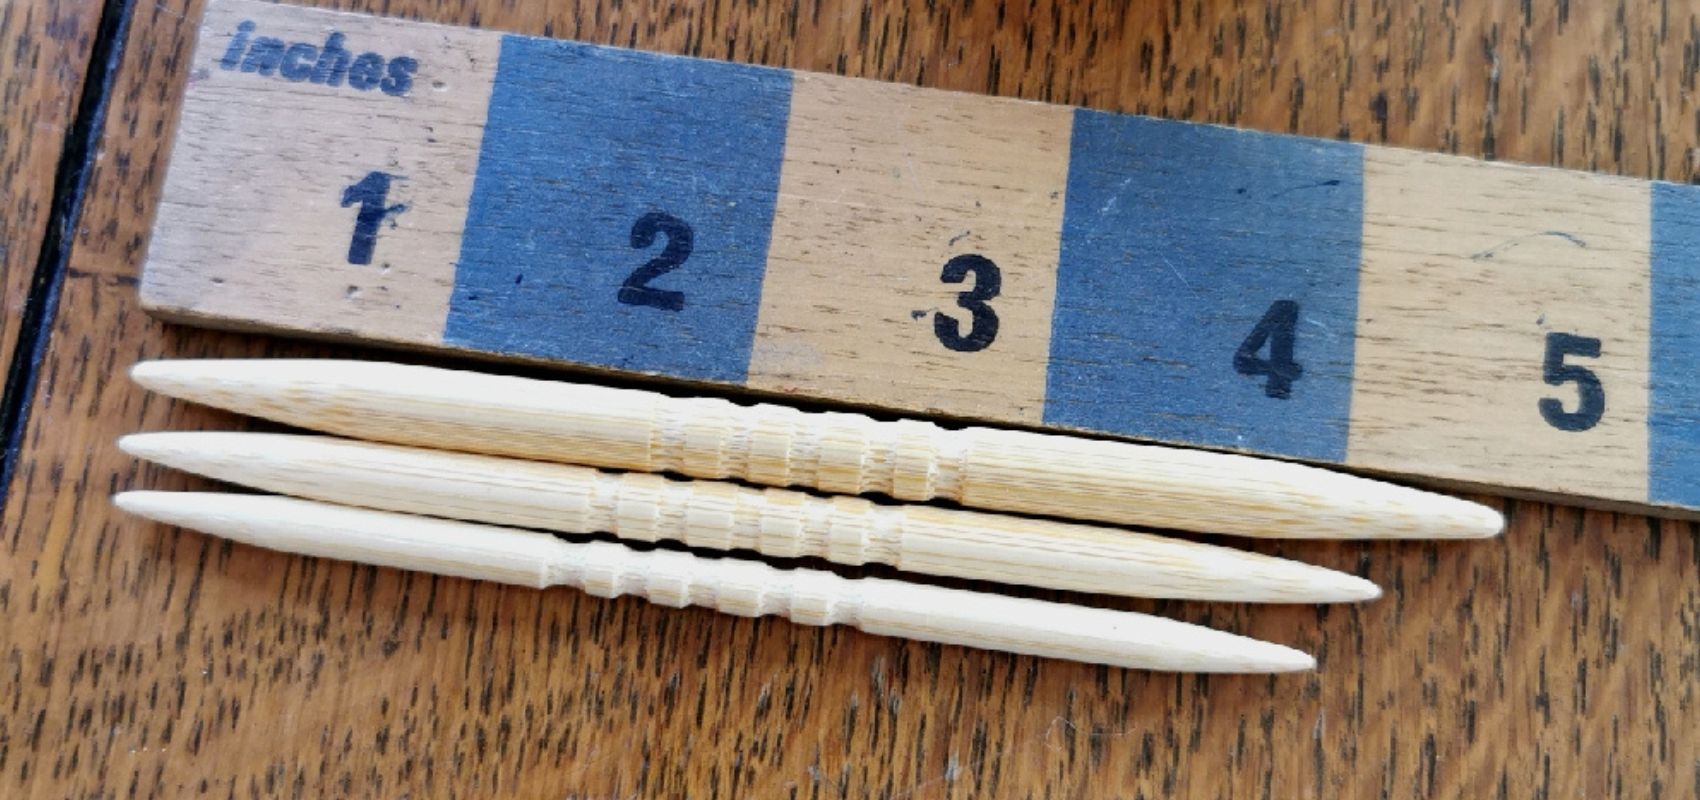
A substantial tool, really useful for turning corners out, have added a Liberty ribbon so it doesn't go missing!!
Simply so pleased with this lovely little acorn, absolutely gorgeous, a beautiful addition to my sewing room.
This site was recommended by a sewing friend. The magnetic block is beautifully made and makes the perfect gift. Beautifully wrapped and delivered quickly. Highly recommend this company.
Bought as present for my cousin. She loved the choice of colours.
Great service too thank you
Leave a comment