100 Acts of Sewing July - caught in neck facing
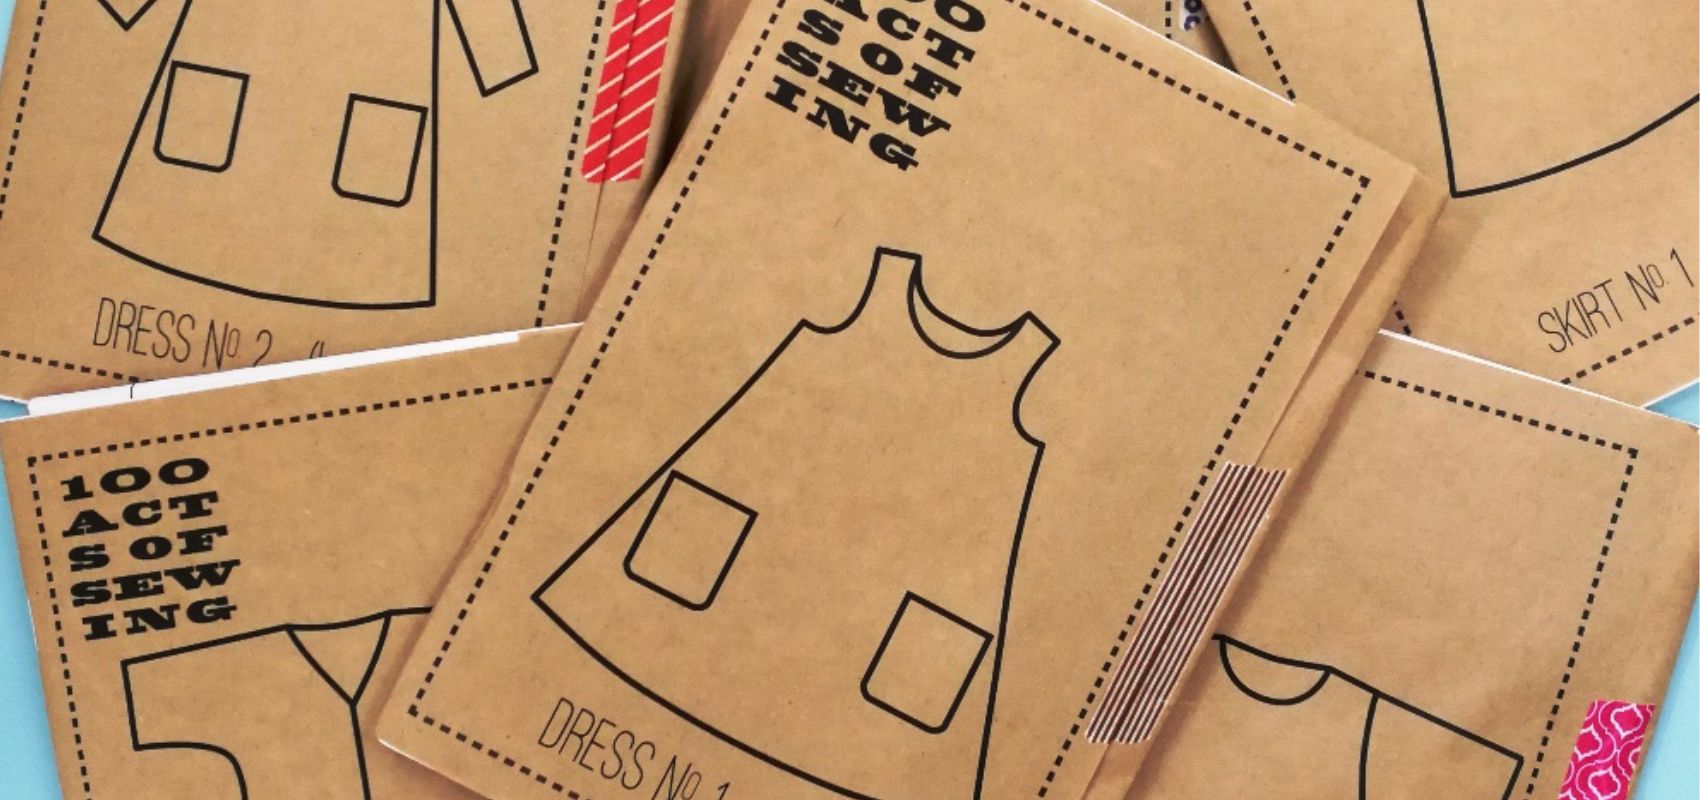
The 100 Acts of Sewing Patterns often use bias tape for finishing necklines and this is a neat and cost effective way of finishing an edge.
Once you get the hang of them, they can look really professional, but sometimes beginners can struggle to get them flat (take a look at this tutorial for some tips) and they don't suit all neckline shapes.
It is no secret that I love a square neckline. Although you could use bias tape to finish one, a neckline facing will give the stability and crispness you need when straight lines are a feature of your neckline.

My post from last year gives instructions for creating an all in one facing (for neck and arm holes) for a sleeveless garment. This solves the problem of flappy and flippy facings, so I'm going to show you how to adapt this for a garment with separate sleeves. The facing goes right across the top of the garment and is caught into the sleeve seam - it will never flip out!!
You can use this tutorial with most necklines that aren't too low- it works best with shallow and wider ones but they don't have to be square.
I'll be using Tunic No 1 for my garment and I'm sewing it in this beautiful cotton and ramie blend from Offset Warehouse. Ramie is part of the nettle family and is one of the most sustainable plant fibres that we can grow and harvest. It grows easily without pesticides and large amounts of water, and can be harvested several times a year. Find out more about this gorgeous fabric on the Offset Warehouse website.

I'm using the neckline from a vintage pattern as a base - it looks quite a lot like Tunic No 1 if you look at the garment shape!

So first trace off your Tunic no 1 front and back - I drew it with the original back neckline so you can make a comparison.

Then I placed my pattern piece on top and lined up the centre fold. It was an almost perfect match with the shoulders! If it doesn't match, you can extend or shorten your shoulder seems as needed. Just make sure your shoulders end up the same width on front and back. I copied my vintage facings onto to the tunic front and back pieces and then used this pattern to cut out my tunic front and back in my main fabric. I left the seam allowances at 5/8 inch on the neckline (as they are on the vintage pattern).

Then taking my pattern pieces, I drew a line a few inches below the bottom of the neckline right across the pattern. It should disappear into the armhole at the side, about half way down the arm hole. These are the facing pattern pieces - trace them off for front and back and cut out of your fabric facings.

Now my main fabric was quite thick, so I cut the facings from a firm quilting cotton to cut down on the bulk. As my main fabric was also quite a loose weave, I applied some woven iron on interfacing to the wrong side around the neckline to stabilise it. You could omit this if you are using a firm fabric, or apply interfacing to your facing pieces if you like.

Neaten the long straight bottom edges of your two facing pieces - you could use bias tape, overlock, pink and stitch or just use the selvedge.
Now put your facings right sides together and join at the shoulder seams. Do the same with your main fabric front and back. Press all the seams open.

I then drew a seam guideline onto my fabric pieces as it is easy to go wonky on straight lines. Also marking the corner pivot points avoids guesswork when turning!
Right sides together and aligning shoulder seams and neckline, pin your facing and garment together all around the neck opening.

Sew along your seam line all around the neckline. Then reinforce each corner for an inch or two each side on the corner if you have angles.

Press the seams, clip into the corners and grade your seams if needed.

Turn your facing to the right side and press, easing your facing to the back of your garment. You can understitch too if you like to keep the facing rolling inwards but you may not get into all the corners - just go as far as you can.

Now match the shoulder seams of your facing and garment, wrong sides together this time, and pin the raw edges at the armholes. Machine or hand tack them together.


Now you can treat the facing and garment fabric as one. Insert your sleeves and complete your sides seams as you would do normally and marvel at your neat and non flappy facing!

I finished my Tunic Dress with some Chanel inspired pockets. I used the frayed selvedge edge trimmed with some beautiful tape from Textile Garden.

A huge thank you to Offset Warehouse for sponsoring a prize for #100ActsofSewingJuly19! This fabric was really beautiful to sew with and even better to wear!
You can shop all their beautiful fabrics on their website here!






Leave a comment